Have you ever tried to import N:N Relationships in Microsoft Dynamics CRM?
If so, you probably found that there isn’t an easy way to do it. Unless you have a tool, you are stuck with either writing code or inserting into the database to handle import N:N data.
Fortunately, one of the free utilities in the XRM Toolbox comes to the rescue.
In the scenario below, our sales and marketing team has pulled a list of our accounts and matched them up with their corresponding NAICS Codes. As Office users tend to do, they pulled our account list into Excel and matched them up with the NAICS Codes. They now have this fantastic list, want it in CRM, but don’t want to key it all.
In this post, I am going to walk through how to use the Import/Export NN Relationships utility to import this data.
How to import N:N relationships
- Download and extract the XRM Toolbox. This is a suite of free tools that can make quite a few things easier in CRM.
- Launch the XRM Toolbox
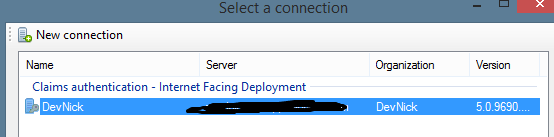
- Click Connect to your organization

- If you have previously used the XRM Toolbox, you can pick your connection from the list; otherwise, create a new one (your CRM administrator should be able to provide you with your connection information)
- Once connected, scroll down and select the Import/Export NN Relationships tool.
- Once it opens, click the Load Metadata button (this may take a minute).If you get a warning stating “No many to many relationships found for this entity!”, that’s okay. It will default to the first entity it finds (sorted alphabetically). That entity may or may not have N:N relationships.

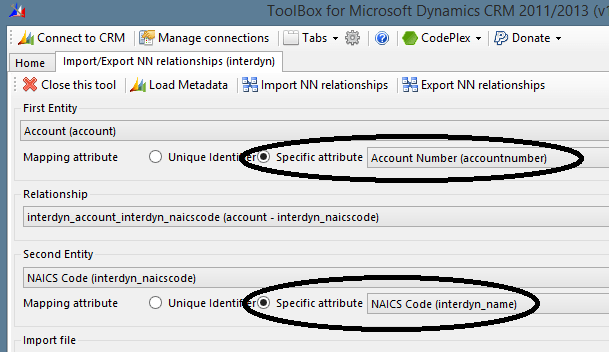
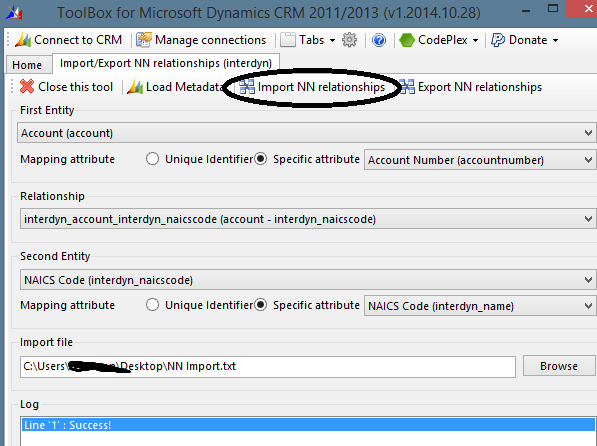
- Select the First Entity value. In this test case, we are going to relate existing Account records to a custom entity called NAICS Code. We will select Account as the First Entity.
- Under the Relationship, we will select the appropriate N:N relationship.
- Under the Second Entity, it will display the other side of the N:N relationship.
- Next, we will change the Mapping Attribute options. Unless you know the list of GUIDs assigned to each record, you will probably want to change this to lookup based on another known value, i.e. Account Number
- Repeat this process for the second entity. In the example below, I selected the NAICS Code instead of its GUID
- Next, you will need to build your file. This requires a semicolon-delimited list. The first column will be the value that ties to the First Entity. The second column will be tied to the Second Entity. Our Excel file looks like this:
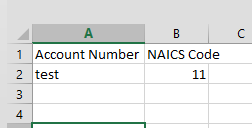
- Remove the column header as the Import/Export NN Relationships utility will attempt to import all of the rows as data
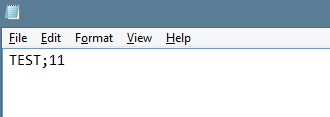
- Then convert it to a semicolon-delimited file using these step-by-step instructions. Don’t forget to change this setting back once you have exported your file!
- If we look at the file we just saved in Notepad (or your favorite text editor), it should look like the image below.
- Now that we have our file, click the Browse button and select it.
- Then click Import NN Relationships to import your file, the results will be displayed in the Log window.
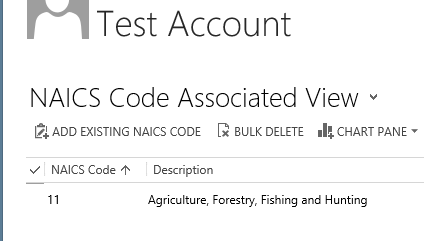
- If we go look in CRM, we can now see that the Account is associated with the NAICS Code! If something goes wrong, it will tell you which line is having a problem and which part of the lookup failed.
If you need further assistance, please contact us.